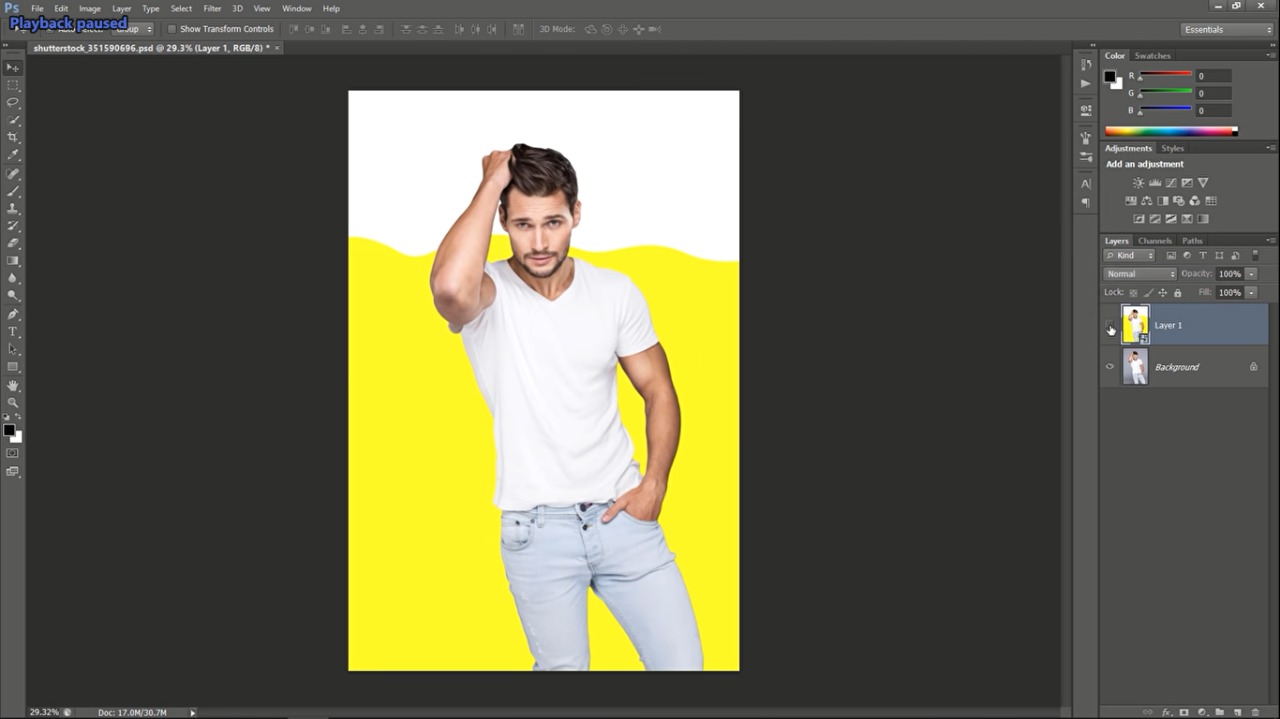
First of all go and check your image size. Make sure that one of the width or height is 2000 pixels. You should change your image size since filters depends on the image resolution. Now with you layer selected duplicated once with Ctrl + J. Grab your quick selection tool from the tools panel. Start selecting your object from the options panel grab the – selection tool to subtract from selection.
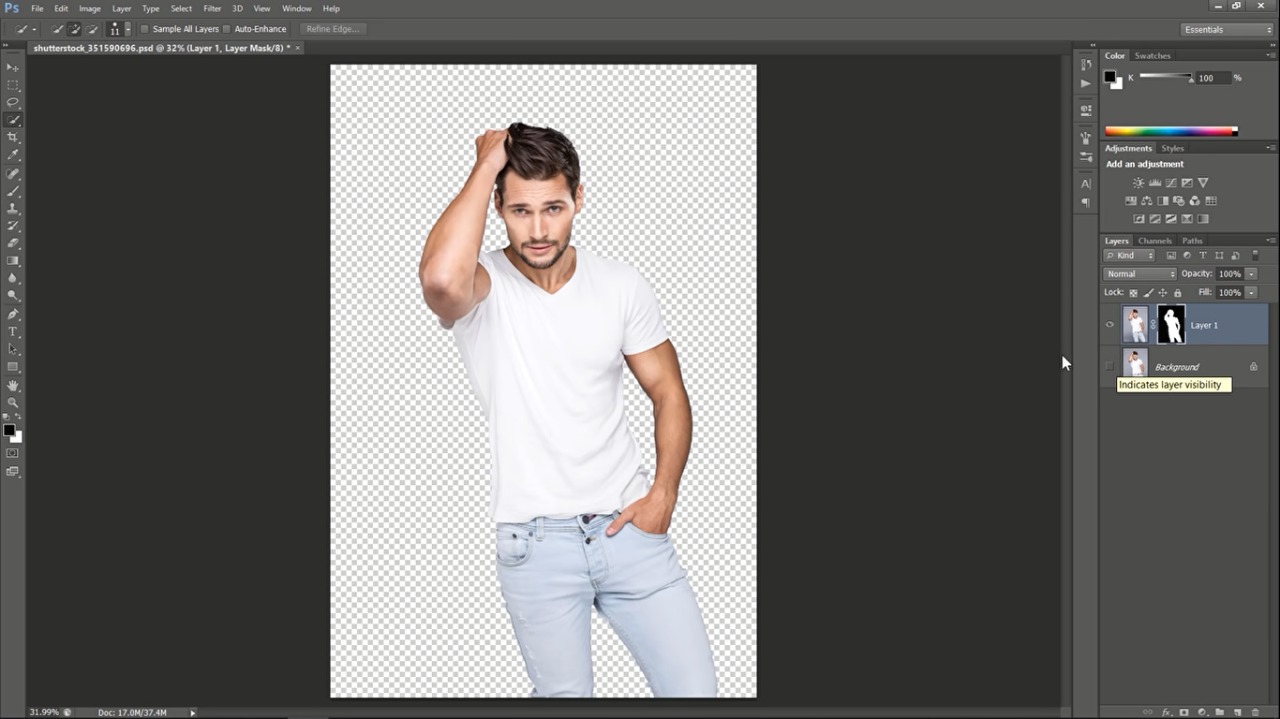
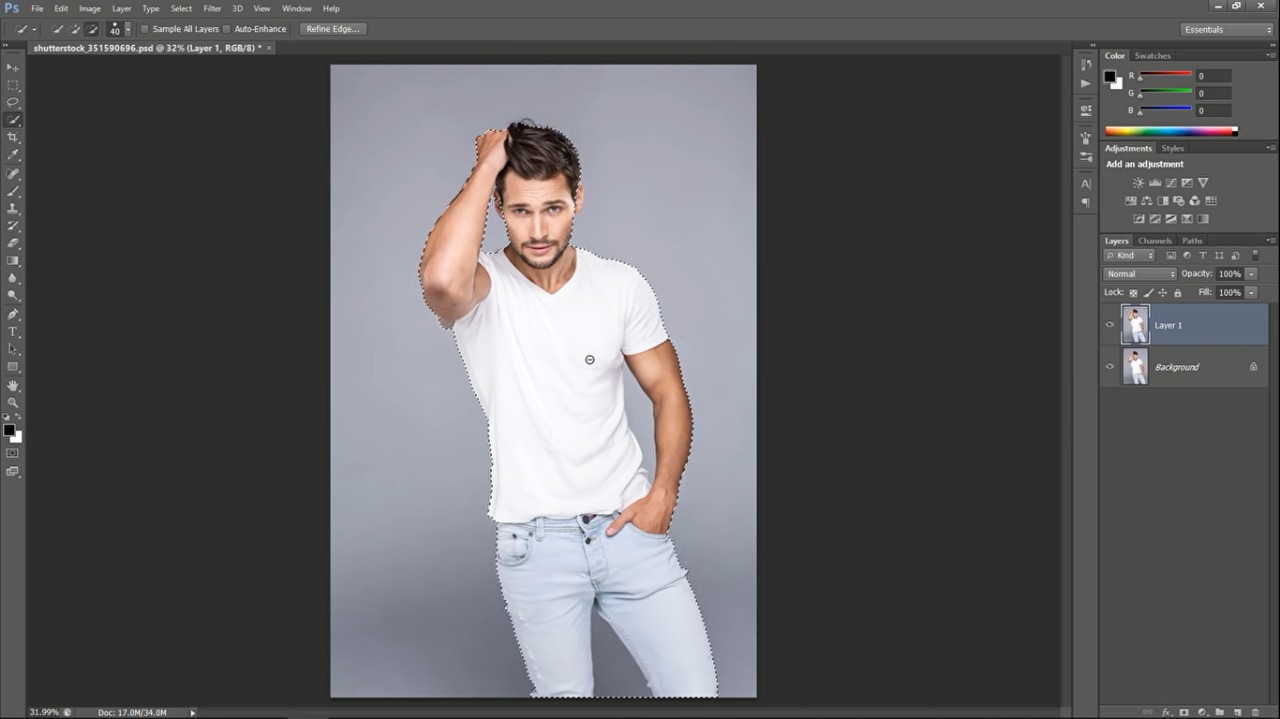 Get back to the plus selection tool.You can switch between the plus and minus selection tools by holding the ALT key.Enhancer selection as much as you can.Hold backspace and drag to move inside your canvas like me hold ALT key and subtract this part from your selection.you can control the brush size by using the bracket keys.Now with you layer selected click on the mask icon to create a layer mask for Premiere selection.
Now right-click the mask and choose refine mask Change view if you want.
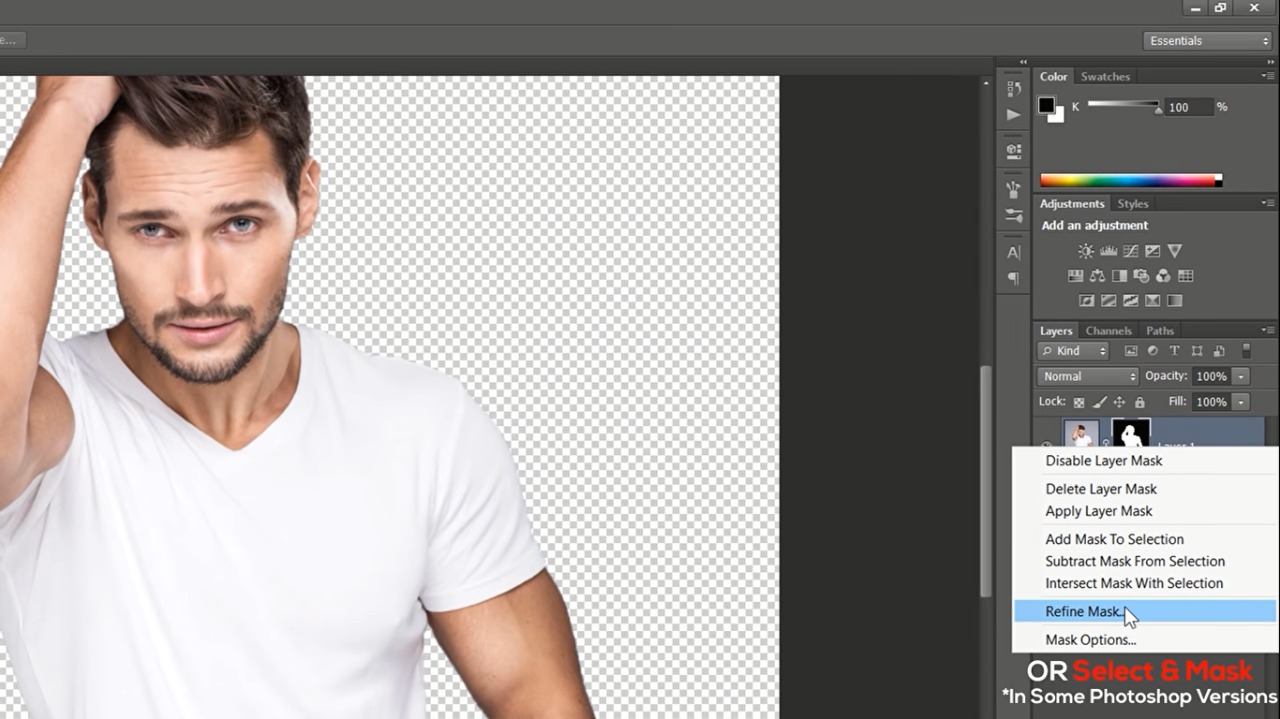
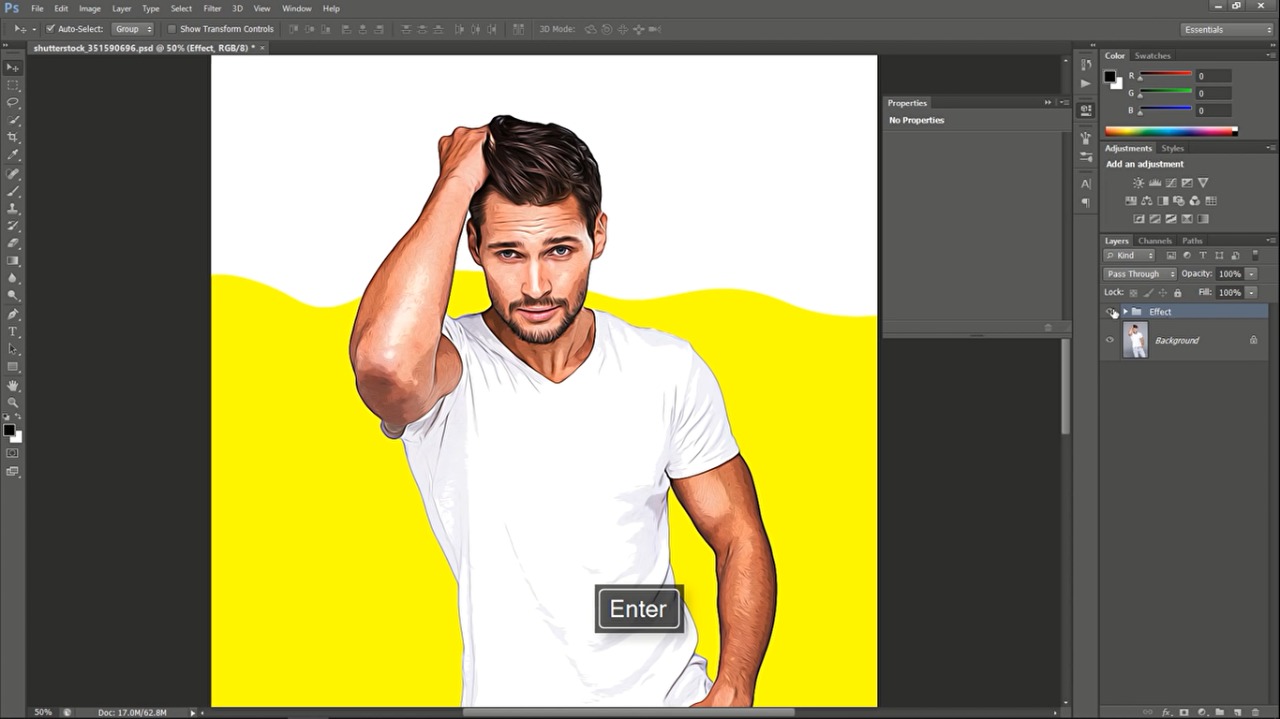
I will choose black View.Increase smooth and contrast Also increase radius a little bit.then click okay.Now we have enhanced our selection.Select the background layer and create a solid color layer.Change color to white grab the pen tool. From the option panel change the shape remove the stroke. And change fill color to any color you want.In my case, I will use this yellow color for of 29.Now start drawing a wavy shape like this with the pen tool.Now select all the three layers that right click and choose convert to Smart object.
Now select layer 1 then duplicated two times with Ctrl + J. Make layer 1 visible only Select layer 1 and choose filter gallery from the filter menu.Under artistic folder choose poster Edge Change values to 0 0 & 2 Click, okay.Since we are working with smart objects, the filter will be applied as a smart filter.With your same layer selected go to filter sharpen and choose on Sharp mask. This will add some sharpening to our image.
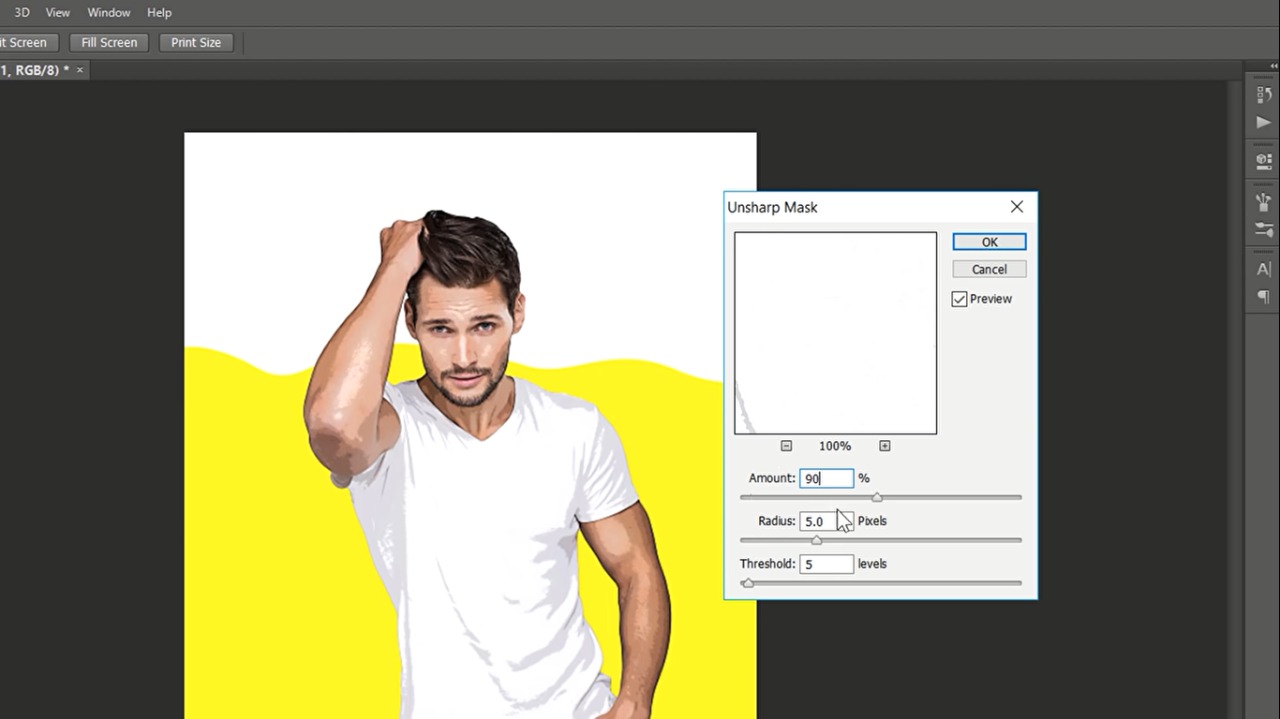
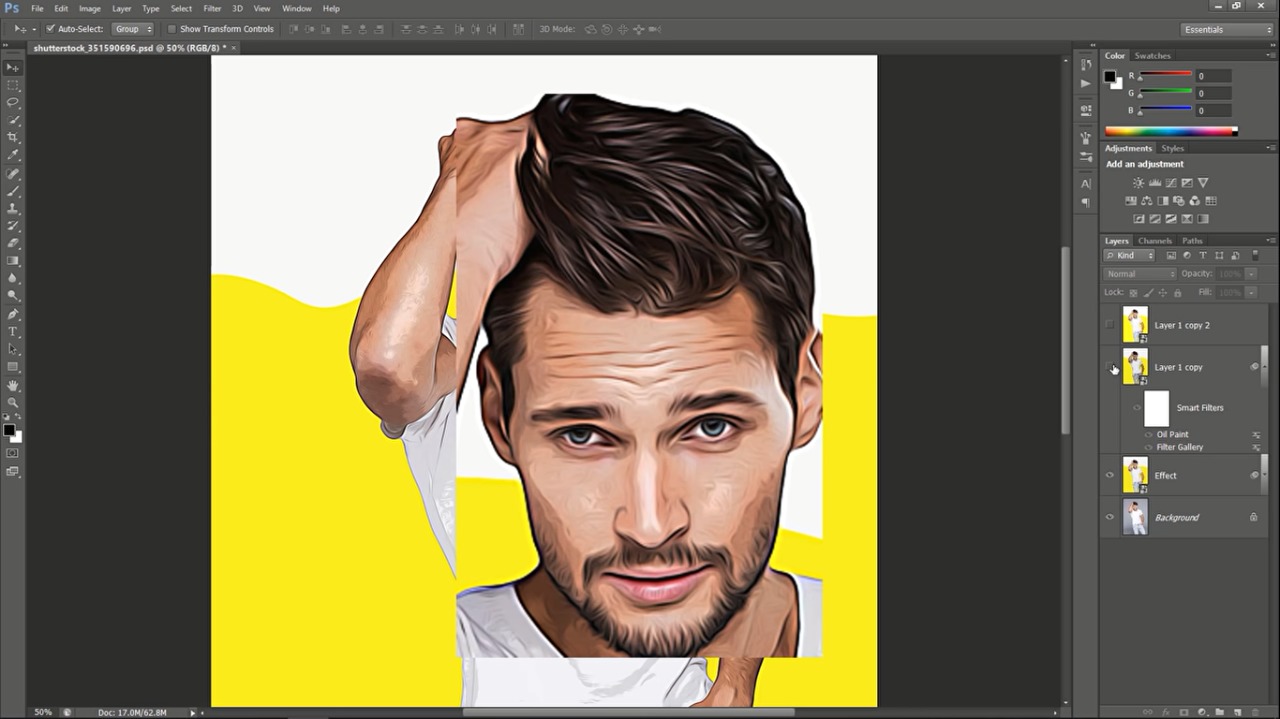
Keep value 90% with 5 pixels radius and 10 threshold then click ok.Now go to filters and choose oil paint filter. In some photoshop versions you can find the oil paint under stylize filters now select oil paint.Make stylization for cleanliness 3 and scale 0.1 and keep all other values zero.Then click okay.Again with your layer selected Apply the unsharp mask.But this time decrease amount to 60% and threshold to five.Double click the layer text to rename Now select the second layer and unhide it.Go to filter then choose filter gallery.Under artistic choose poster edges Change values to 0 3 and 6. Then click okay.Again with the same layer selected go to oil paint filter.And click okay.Change blend mode to Overlay. And change the opacity to 25%As you can see this will add some outlines.
Change name to outlines.Change the last layers name to high pass.Make it visible and select it. Go to high pass filter.Change radius to to then click ok.Change blend mode to Overlay. As you can see this will add an extra little details.
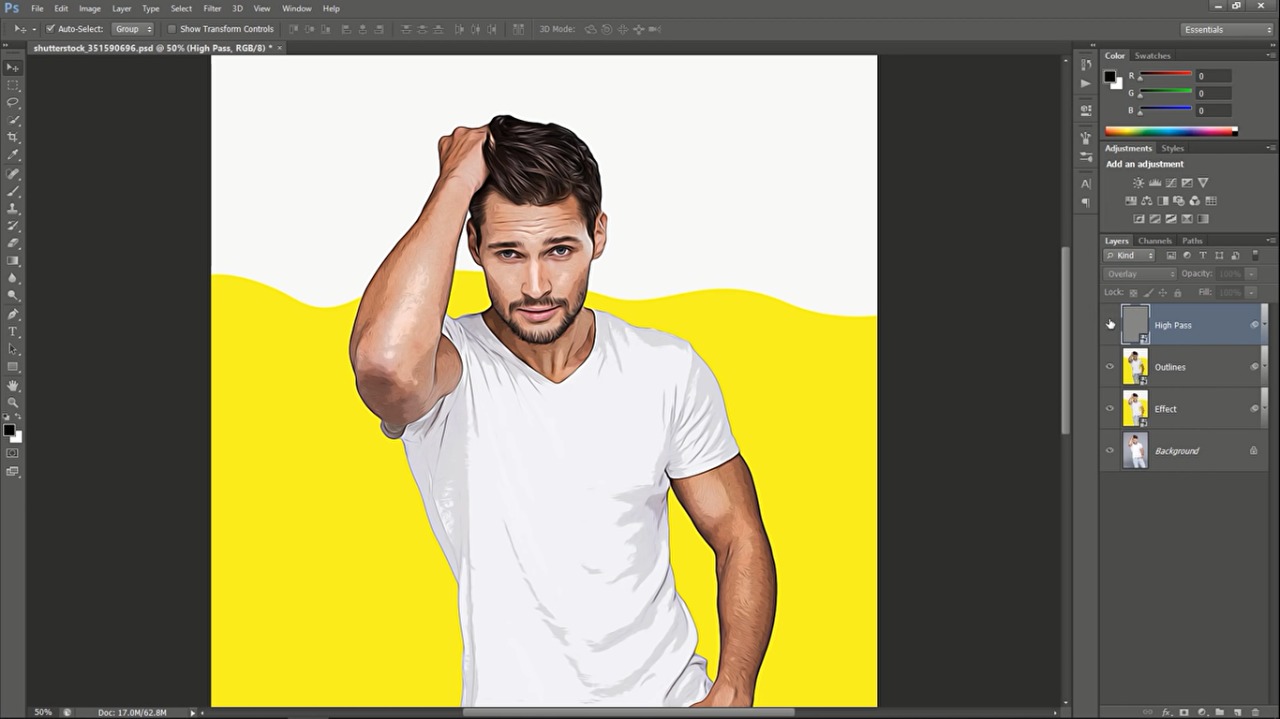
Let’s add some adjustment layers. Add levels Adjust level sliders depending on your image That’s great. Now add a Vibrance layer.Adjust Vibrance and saturation as you want.Also, add a color lookup player.From the drop-down menu choose three strip down look Change opacity to 50%Group all layers, and let’s see the before and after.